By Justyn Harrison
July 30th
By Justyn Harrison
July 30th As much as an eyesore as mould growth is, it’s a common issue for many homeowners and renters. Mould growth is especially prevalent in areas with high humidity levels like bathrooms and kitchens.
Ceiling mould is particularly troublesome, it is not only hard to reach but can also lead to respiratory problems if not addressed promptly.
Luckily, this guide will provide you with detailed steps on how to clean mould off the ceiling effectively.
How to get rid of Bathroom Ceiling mould
if you were mould, the bathroom ceiling would be the cool new club that all your friends desperately want in on.
Bathrooms are optimal environments for mould growth due to constant exposure to moisture and humidity (especially the bathroom ceiling above your shower). But don’t worry, we are going to show you how to tackle this problem in a few simple steps;
Step 1: Sort your Supplies
Before you begin, ensure you have all the necessary cleaning products and tools. You will need:
- Spray bottle
- Scrubbing brush
- Microfibre cloths
- Clean cloth
- Face mask
- Safety glasses
and either;
- Bleach
- White vinegar
- Baking soda
- Hydrogen peroxide
Don’t have these items? Most can be found easily on Amazon!
Get started now with our form
Get connectedStep 2: Ensure Safety First
When facing mould removal, your safety should be the number one priority!
You must wear a face mask and safety glasses to prevent inhaling dangerous mould spores. It is also a good idea to crack open windows (or turn the exhaust fan on) to ensure proper ventilation during the cleaning process.
Step 3: Prep your cleaning solution of choice!
Online you can find plenty of DIY cleaning solutions to clean mould, however between the old housewives’ tales and a little bit of science, these are our fav mould busters;
- Bleach Solution: combine one part bleach with three parts water in a spray bottle.
- White Vinegar Solution: Pour undiluted white vinegar into a spray bottle. Note: While vinegar is a natural mould remover and less abrasive than bleach, its effectiveness might not be as great.
- Hydrogen Peroxide Solution: Combine one part hydrogen peroxide with two parts water in a spray bottle. This solution can kill mould and is also less toxic than bleach.
Please take extra safety precautions when using chemicals, following the safety directions on the individual product.
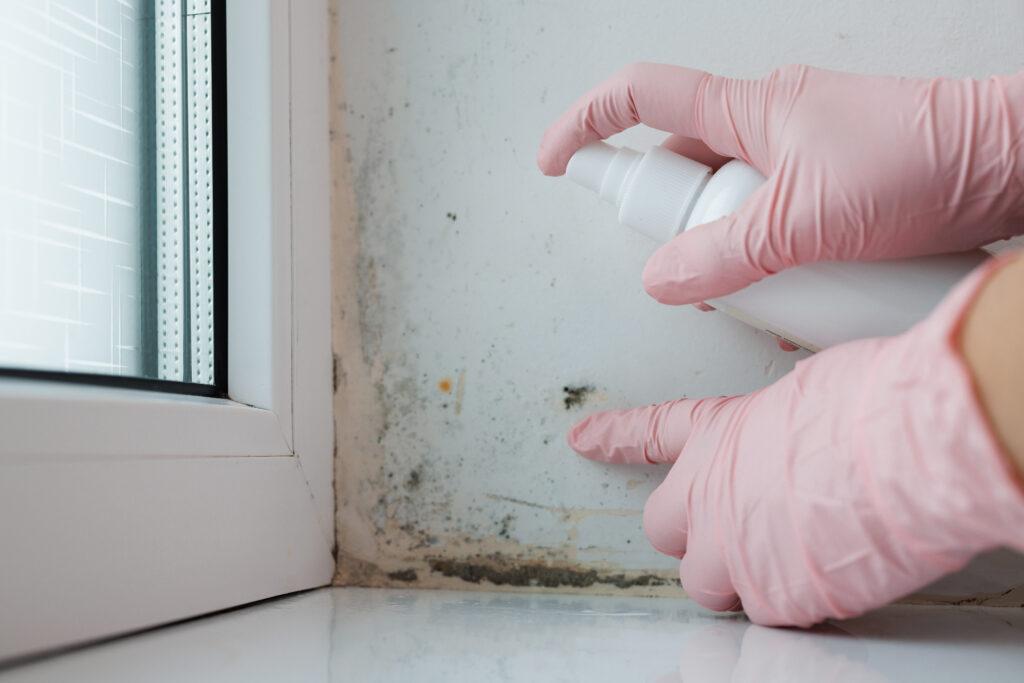
Step 4: FIGHT! FIGHT! FIGHT!… we mean spray your cleaning solution
Ding, Ding, Ding! Round one.
Directly apply your preferred cleaning solution to the mouldy areas of the ceiling. Allow it to sit for at least 15 minutes to ensure it penetrates deeply into the mould spores, breaking them down. Do a patch test in an inconspicuous area to ensure the chemicals don’t react poorly with your house materials.
Step 5: Scrub the Mould Away
Use a scrubbing brush (or a toothbrush for smaller areas) to scrub the mouldy affected area. For stubborn mould, you may need to reapply the cleaning solution and wash the affected area again.
Step 6: Rinse and Dry
Once the mould is removed, rinse the ceiling with warm water and a clean cloth to remove any residue. Dry the area thoroughly with a microfibre cloth to prevent future mould growth.
Consider a Professional Cleaning Service
If the mould problem is extensive, it may be best to hire a professional cleaning service. Professionals have the expertise and equipment to handle severe mould infestations safely and effectively! Plus it saves you from scrubbing.
Do you have reoccurring mould issues? Now you can kill mould for good.
Mould build-up can occur in various parts of your home, not just the bathroom ceiling. To prevent and address mould build-up you can
Learn to tackle mould on ceilings, especially in bathrooms. Our simple steps will help you eliminate mould and prevent it from returning, ensuring a healthier home.
Fix Humidity Levels
Maintain appropriate humidity levels in your home using a dehumidifier. This device helps reduce moisture in the air, making mould growth less likely.
Install Exhaust Fans and Extractor Fan
Ensure that exhaust fans and extractor fans are installed and functional in moisture-prone areas like bathrooms and kitchens. These fans help to ventilate the space and reduce humidity.
Regular Maintenance
Regularly inspect and clean areas prone to mould, such as the bathroom ceiling, drywall, and grout. Regular cleaning mould-prone areas with appropriate cleaning solutions helps to stop larger issues from occurring (leading to costly removal processes!)
Prevent Water Damage
Address any water damage in your home promptly. Water damage is one of the leading causes of mould growth. It is essential to fix leaks, repair gutters, and ensure proper drainage around your home.
Dry Clothes Properly
Avoid drying clothes indoors, especially in rooms without proper ventilation. Putting your clothes dryer on or leaving your house hanging inside can lead to increased humidity levels due to excess moisture.
Choose the RIGHT products.
When repainting, use mould-resistant paint to add extra protection against mould. This type of paint contains antimicrobial agents that inhibit mould growth.